






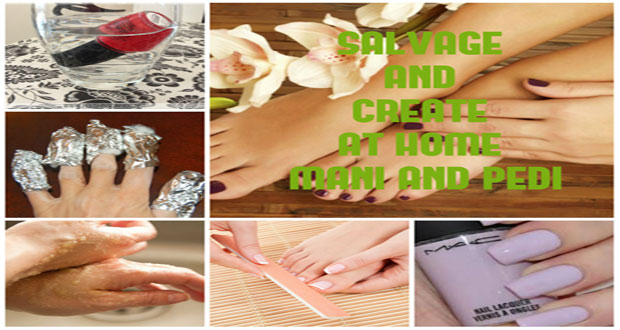
HELLO everyone! Having a manicure and pedicure done at a salon creates one of the best feelings; but when does being pampered ever not create those feelings?
But when time and money are limited, your next best bet is a good old fashioned DIY ‘pedi’ and ‘mani’.
Below are a few steps that should help you complete a good old fashioned ‘pedi’ and ‘mani’.
STEP 1: Start with a clean canvas
Before you start, make sure your finger and toe nails are polish-free, using a remover. Do you have hard-to-remove glitter polish on; or perhaps several layers of polish? A simple and effective removal trick is to soak a cotton pad in nail polish remover and then wrap the pad and nail in aluminum foil to prevent evaporation of the remover. Wait a few minutes, and twist, rubbing the polish off.
STEP 2: Find your shape
Next, use clippers and/or a file to gently shape your nails to your desired length and shape.
Next, smooth the surface of your nails with a buffing block (this will also remove ugly yellow stains we all get from wearing too much dark polish!). Follow up with the smooth buffing side for a high shine!
A quick DIY way to clean your nails is by rubbing a little lime or lemon juice across and beneath your nails for a few minutes, to quickly remove dirt and stains.
STEP 3: Soak and scrub
Soak hands for two to three minutes and feet for five minutes in warm water, or you may do so for an even longer period if you can! Now, time to exfoliate! Pay special attention to heels and knuckles. For an easy at-home fix, mix one tablespoon of sugar with one tablespoon of baby oil, petroleum jelly or coconut oil, and gently scrub and massage away the dead, dry cells. This leaves your skin feeling like silk. Rinse and pat dry.
Before moving on to step four, swipe the nail beds with polish remover to remove any oil and moisturizer. The key to long lasting polish is super clean nails!
BONUS! Can’t open your nail polish because the lid is stuck to the bottle? Don’t use your teeth! To unstick a bottle of polish, you only need to drop it in some warm water.
STEP 4: Do it like a pro
Apply a base coat of nail polish to smooth any ridges and create an even surface for your colour. One thin coat will do it! Paint one or two thin layers of polish on your nails, allowing your colour to dry completely between each coat.
To do it like the professionals, swipe the polish down the centre of the nail first, then on each side. The key is to make the layers of polish as thin as possible, which will aid in longevity and help the polish dry more quickly.
BONUS! Take a piece of stiff paper and cut a few half circles out of the edge. Don’t worry about making them perfect. Place the first finger you are going to polish into the half-circle that fits it best, inserting the card just slightly under the edge of your short nail. Even if your nail is shorter than short, you can make this happen painlessly. Now paint the surface of your nail, without getting it all over your skin.
STEP 5: Shine on, then don’t touch anything
Always apply a top coat; besides adding a great shine, it smoothes away flaws. Just one coat is all you will need. To quickly refresh your mani/pedi throughout the week, add another layer of top coat. It makes a huge difference. Next, just sit back and give your nails a chance to dry.
From Raveena Mangal